Have you masked up in a while?
Stampin' Up! has some great masks, some may call them stencils, or some other name. We call them masks. Originally we introduced them when we introduced our embossing paste a few years back. How and when people use them keeps expanding.
With our newest set, released in January 2022, they have introduced a way to double mask (or stencil). You can create uniquely you creations by doubling your masks. There is no right or wrong way, only way is to try it.
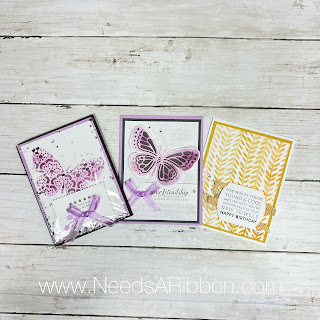
I am going to show you how I doubled, or layered, my masks to create these looks.
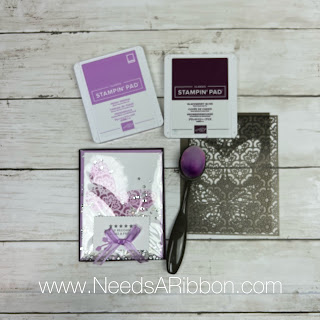
Supplies
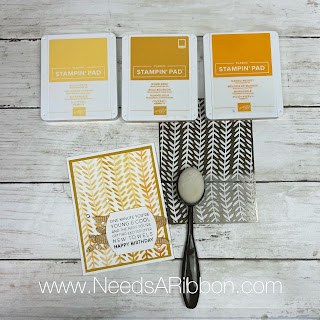
- Blending Brush 153611
- Ink pads, 2-3 colors or you could try tone on tone
- Masks - Butterflies & Flowers Layering Decorative Masks 158142
- Basic White cardstock 159276
- Washi Tape
Tip: since our masks sometimes have multiple images on one sheet, be sure to cover the mask you are not using. I made that mistake, not once, but twice. Which I used to create other cute projects. Read on for how I covered those mistakes.
supplies needed
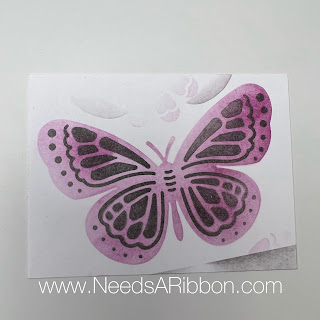
Here is my "what not to do" picture!
be sure to mask off areas not want color
Because I had to learn it 2 times to mask off the areas you do not want color, I fussy cut out the butterfly. That was not my original intention but I like what I did with it in the final product.
To double mask, again, this is my methodology, I used washi tape to hold down the stencil. I laid down the base color, Fresh Freesia, using just the butterfly outline mask. Using the blending brush, ink it up and apply color in a circular motion until it is covered to your satisfaction. The more color you apply the darker the image will become. Keep the brush moving so you don't get blob looking splotches.
Then carefully positioning the butterfly detail mask, I used washi tape to hold the detail mask, using the same method, ink up a clean blending brush (they can be washed by the way), and basic grey ink pad, apply the ink to the detailed butterfly mask.
Fussy cut out your butterfly if you goof up like I did.
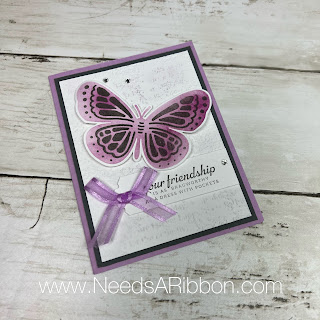
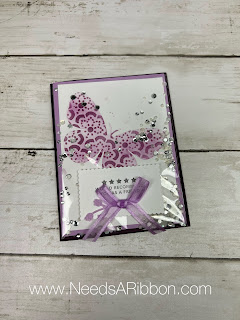
final project
This project uses a lot of other supplies too. I embossed the white base layer then using the blending brush ever so gently rubbed Fresh Freesia over the raised parts.
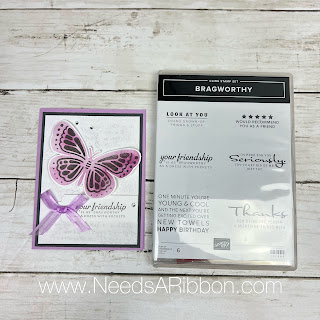
Bragworthy greeting stamp used
For my next project I used the same decorative masks and changed up my color combination.
I swapped out the Basic Grey ink for Blackberry Bliss ink. Again, I laid down the base butterfly color first using the butterfly outline masks. then I placed one of the other masks from the same pack for the butterfly detail. But because I had to learn the second time to cover the areas I didn't want inked, rather than fussy cut out the butterfly again, I decided to make this into a simple shaker card, I will cover how to make these shaker cards soon. This was not the plan I had in my head when planning this card, but I love the unexpected turn it took.
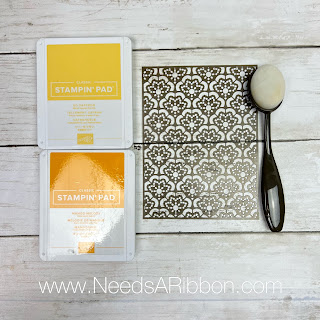
Grabbing some different color ink pads I made a few more decorative mask cards.
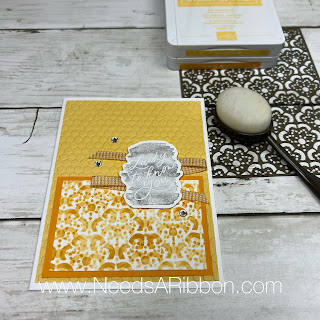
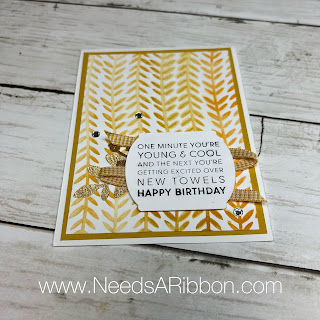
For this next card I just used the mask pictured above and just shifted it for the top color, Mango Melody.
Lucky You - greeting stamp used
My final decorative masks card I didn't layer the decorative masks, but chose an ombre colored look.
Bragworthy - greeting stamp
To create the ombre look I blended in the left, lighter color, first, then the right, brighter color, then blended in the middle color.
This stencil, because it has so many open areas, isn't as stable as most of our other masks. I recommend working in a top to bottom motion rather than blending in circles. The vines in the mask are only attached at the top and bottom of the mask.
I hope you have enjoyed learning how to layer your masks for some interesting effects.
Check back soon. I will be touching base on those shaker cards idea.
Thank you for checking in, Sandy


Comments